Here is a way to remove the ads from your browsing expirience.
First, if you don't have Firefox, download and install it, it is pretty straight forward of a process.
Click on any of the images to see a larger version of them.
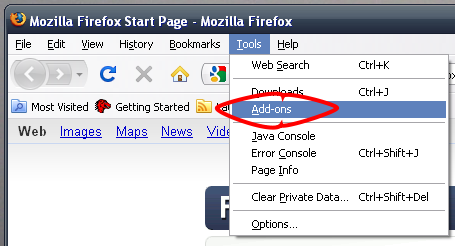
Step 1.
Start Firefox. When it loads Click on Tools on the menu bar, then click Add-ons.
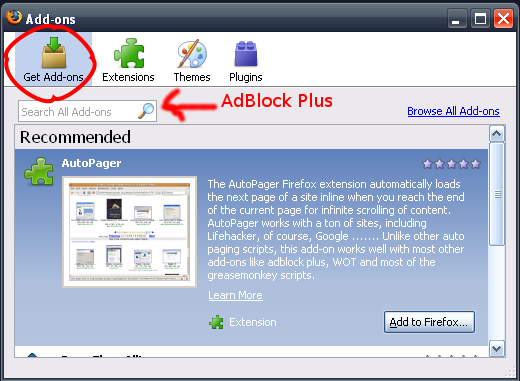
Step 2.
The Add-ons window will open. Click the picture of the box with the green arrow
that says "Get Add-ons", Then in the text box below that type "AdBlock Plus".
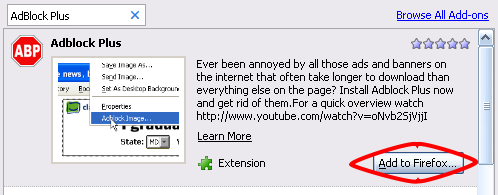
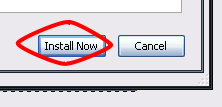
Step 3.
After a few seconds you should see something that looks like the picture below.
Down and to the right of the stop sign there is a button that says "Add to Firefox..."
click that button.
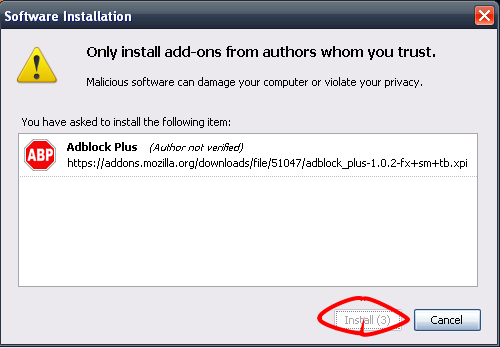
Step 4.
The following window should appear. After 3 Seconds have past you will be
able to click "Install", do so.
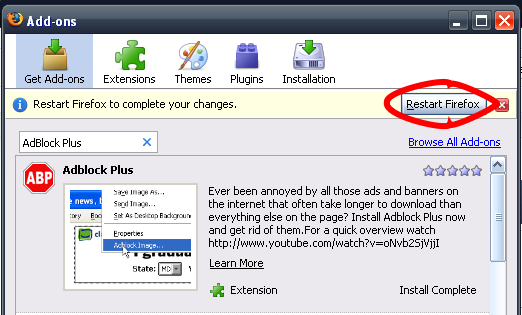
Step 5.
After a few seconds have past the Add-ons window should look like the
one in the image below, this time it will have a button that says
"Restart Firefox", click that button. After doing so Firefox will close and
re-open.
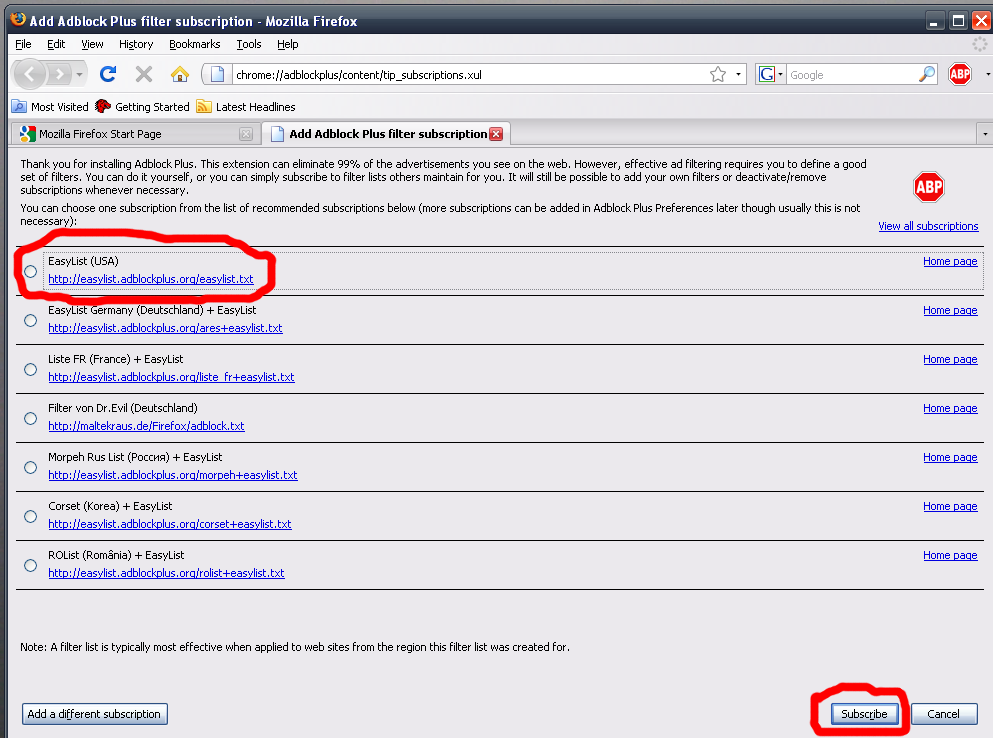
Step 6.
When Firefox starts back up it will open a page similar to the one pictured below.
On this page click the little circle to the left of "EasyList(USA)", then click the "Subscribe" button at the lower right corner of the page. This subscribes you to a
list of ad definitions that is constantly update, this is similar to the way your antivirus program gets updates about new virus.
Complete!
Congratulations you have successfully installed AdBlock Plus, This will be subtile at first but after a few days of using it you will notice that your additude about that internet has improved a bit.
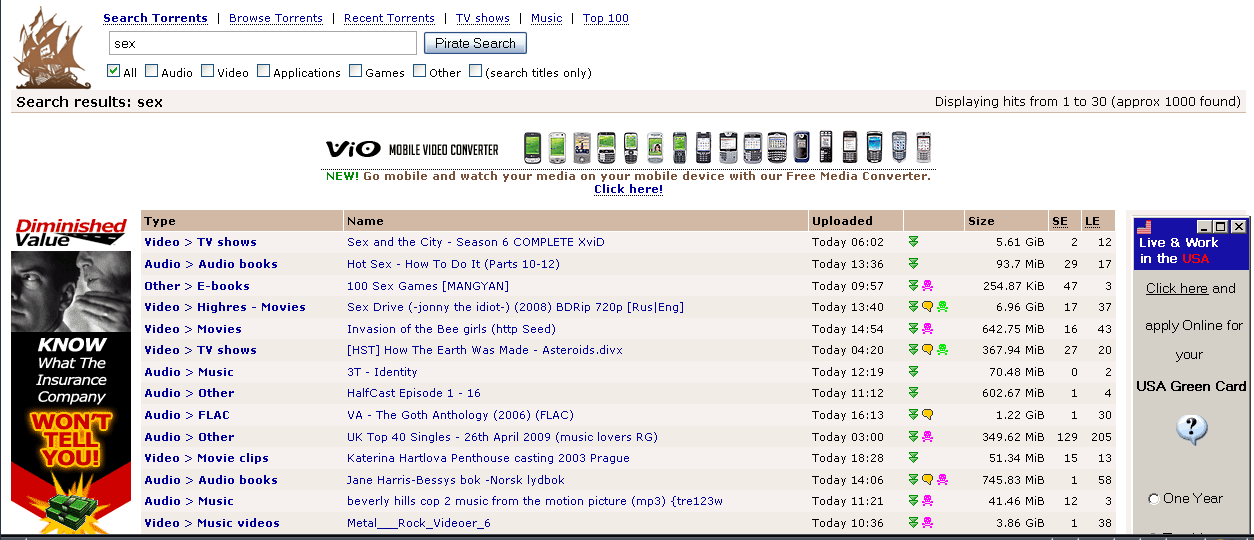
The Pirate Bay - Before
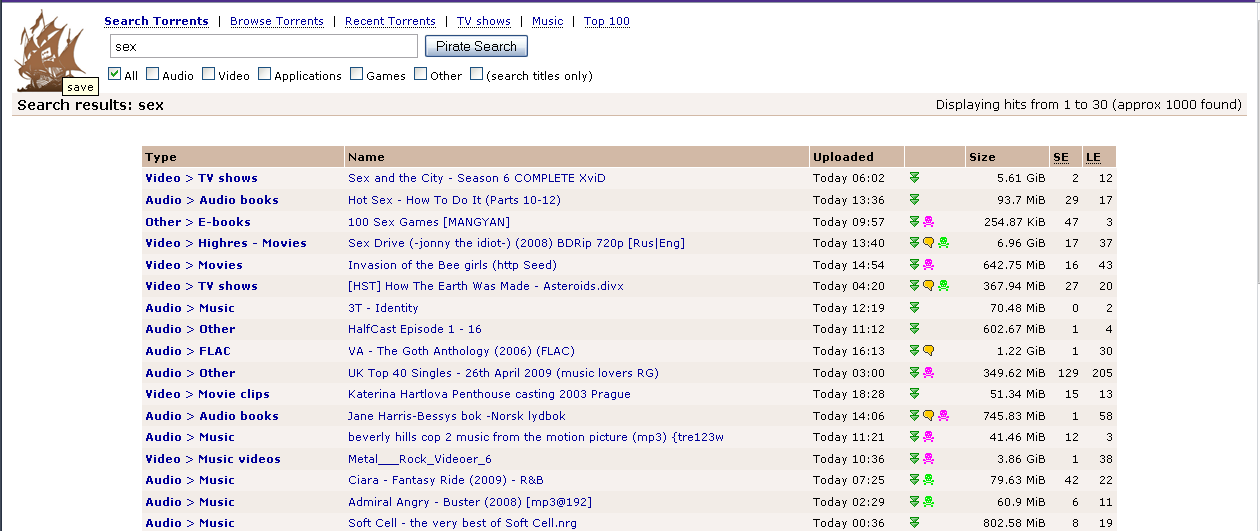
The Pirate Bay - After
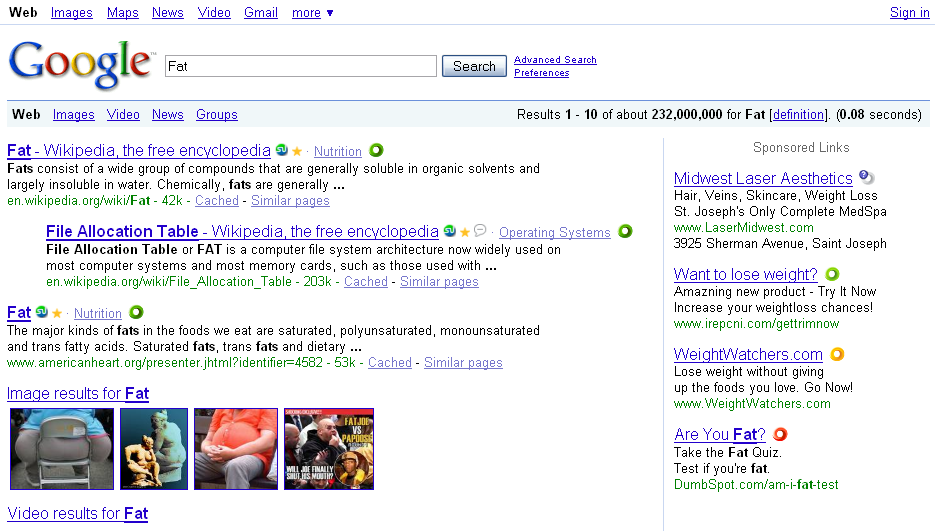
Google Search - Before
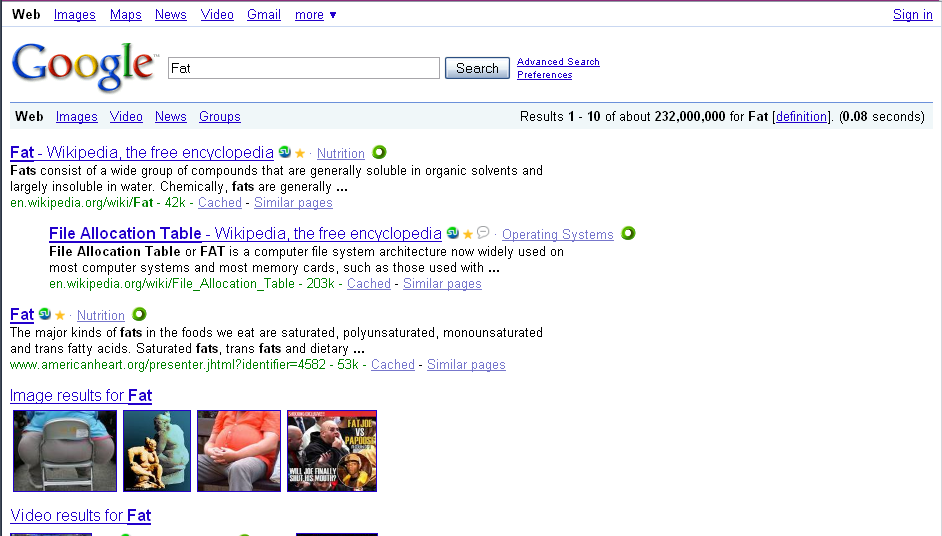
Google Search - After
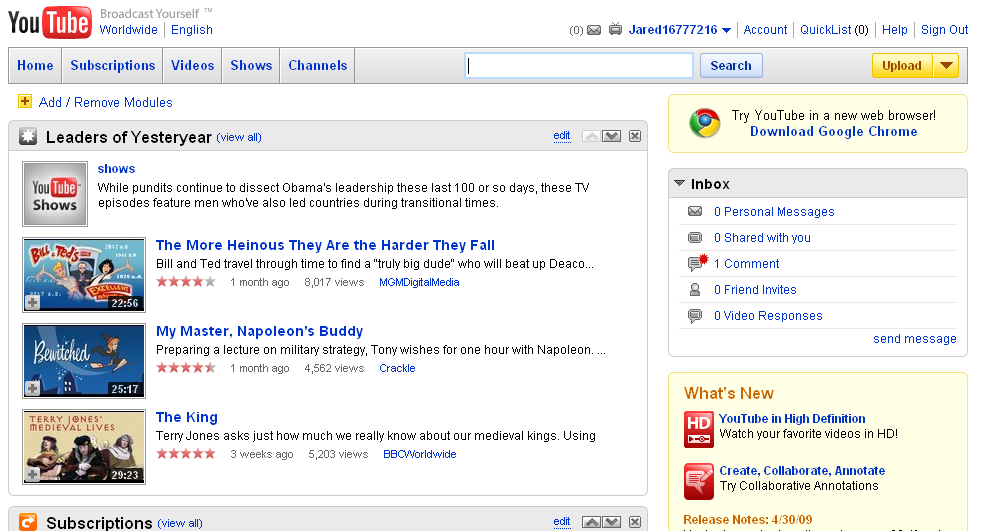
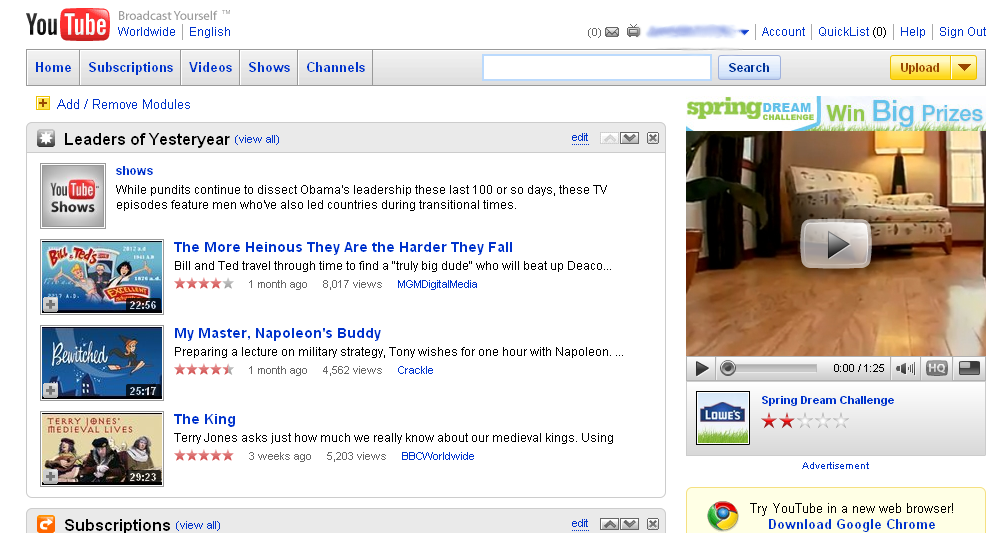
YouTube - Before
YouTube - After